Age decides the pick: a preschooler does best with the Playdough + Pony Bead trees or the Pipe Cleaner Tree, since neither needs glue or drying time, while older kids can handle scissors and a hot glue gun with an adult nearby for the Pinecone Tree.
The list runs from a fork and some green paint to Styrofoam cones that cost a few dollars at a craft store, so the budget rarely gets in the way.
Age and patience are the real limits, and a jar of old buttons covers a lot of ground.
1. Popsicle Stick Christmas Tree
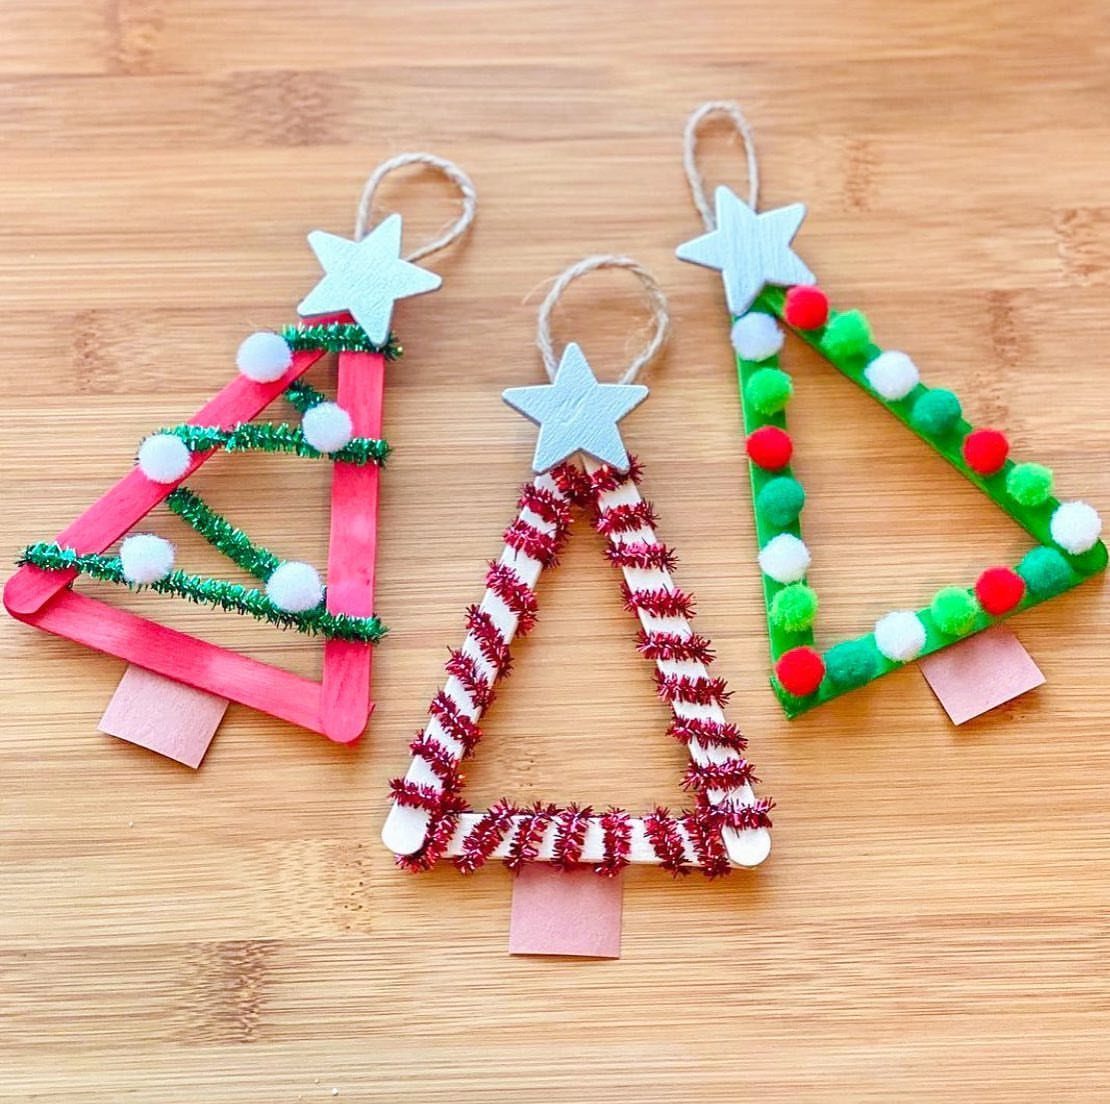
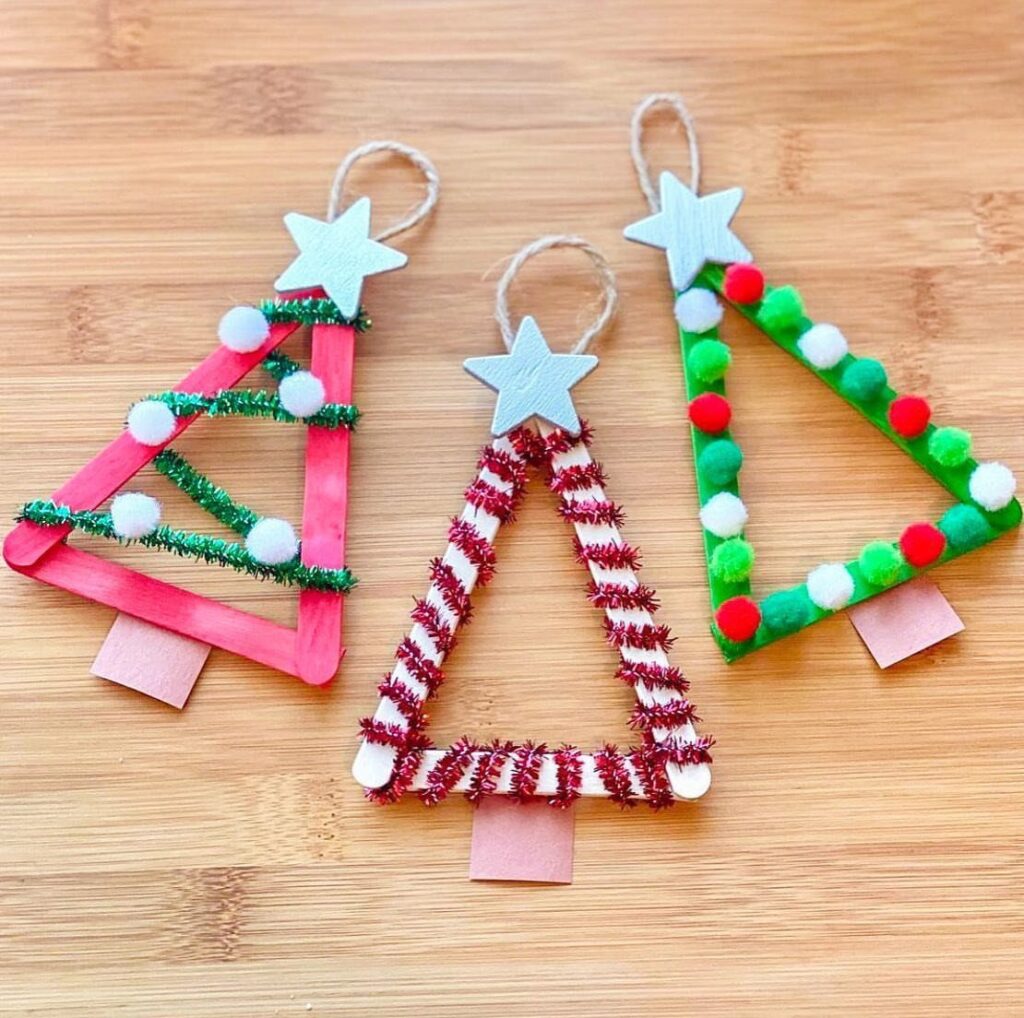
Craft sticks glued into a triangle are the cheapest tree frame I know, and the decorating is where kids take over.
Pom-poms, pipe cleaners and small stars all stick on with white glue, so a mixed bin of scraps works fine.
Let the glue dry flat before anyone hangs the tree. Adding a loop of string at the top turns it into an ornament.
Wrap the cut tails of the fabric around the dowel, holding it in place with hot-glue and leaving part of the cut part open. Stack about 6 cinnamon sticks in a triangle shape, securing them together with hot-glue.
2. Egg Carton Christmas Tree
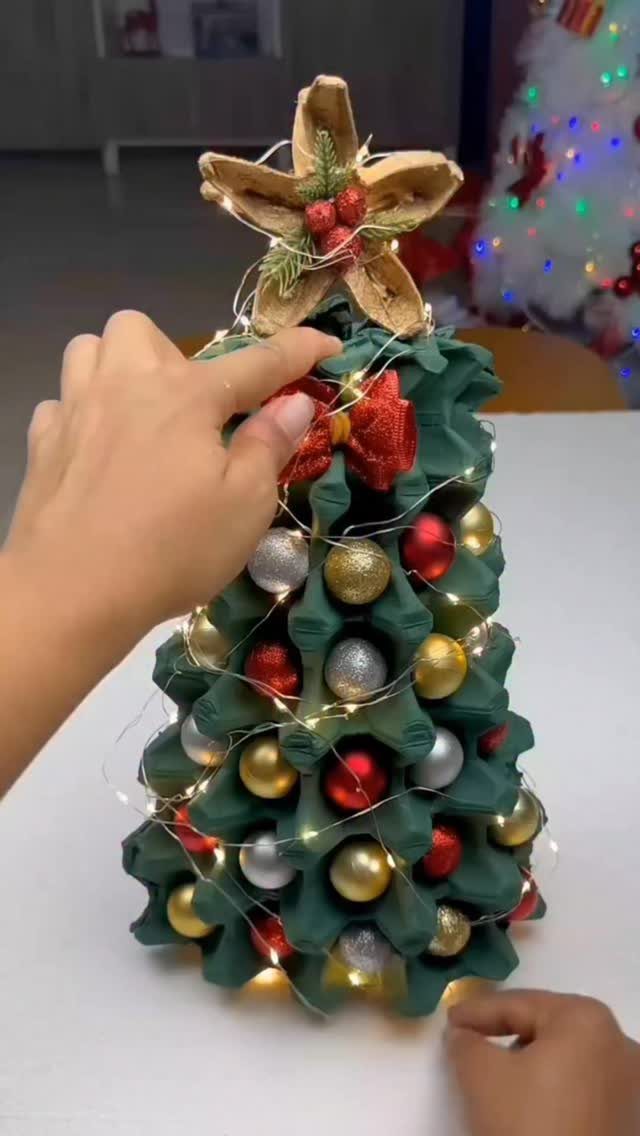
Cut a carton’s cups apart, paint them green, and stack them in rows to build a tabletop tree out of what would have gone in the recycling bin. That makes it one of the lowest-cost crafts on this list.
Paint comes first, since decorating a bare carton is a mess.
3. Yarn Trees

Yarn gives a tree a soft, textured surface that paper and paint can’t match. Green is the classic choice, but a small pile in several colors looks cheerful lined up together.
Crochet suits older kids and parents who already hold a hook. For younger children, wrapping yarn around a cardboard cone is the easier route to the same woolly look.
4. Paper Plate Christmas Tree
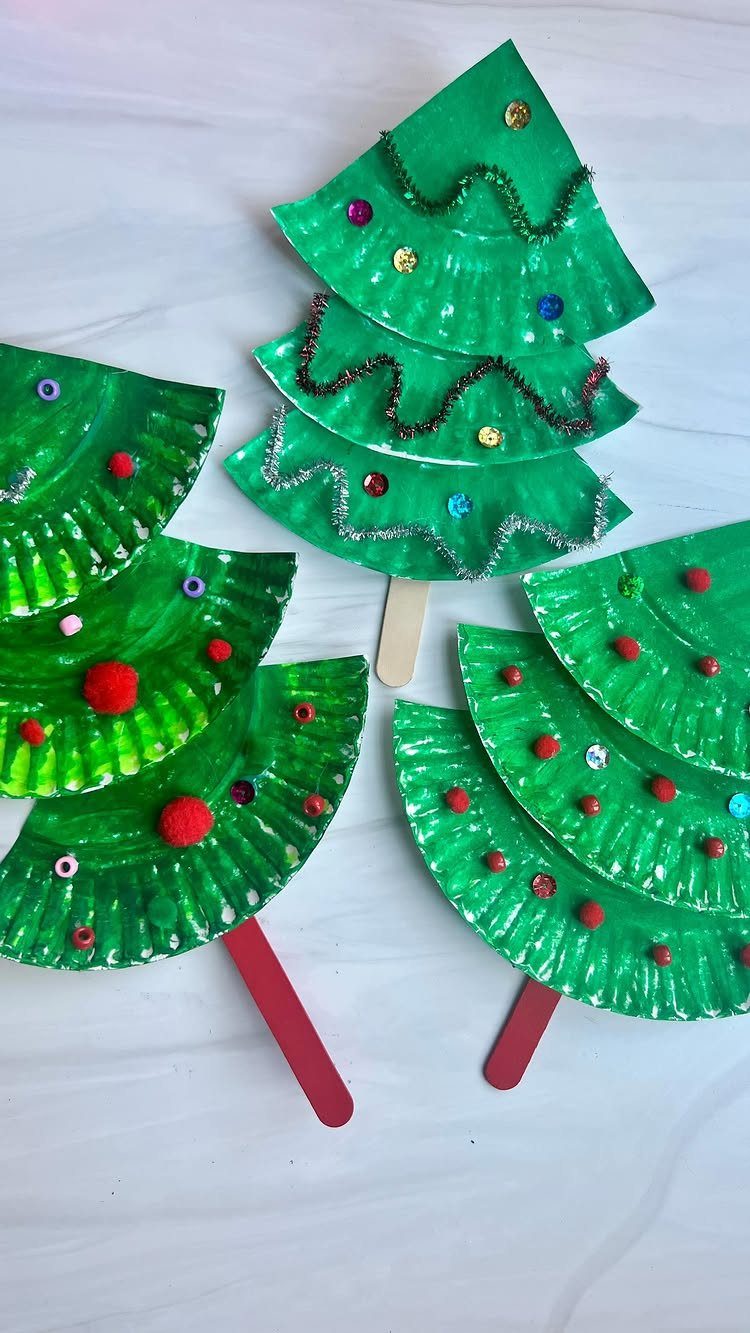
Stacking paper plates is how you get a tree with real depth rather than a flat cutout. Paint each plate green, then layer them so the edges fan out like branches.
Sequins and pom-poms dress it up, and a craft stick taped or glued on the back works as a handle, so small hands can wave it around.
I like that handle: it makes the tree a toy as well as a decoration.
5. Yarn Wrapped Twig Christmas Tree
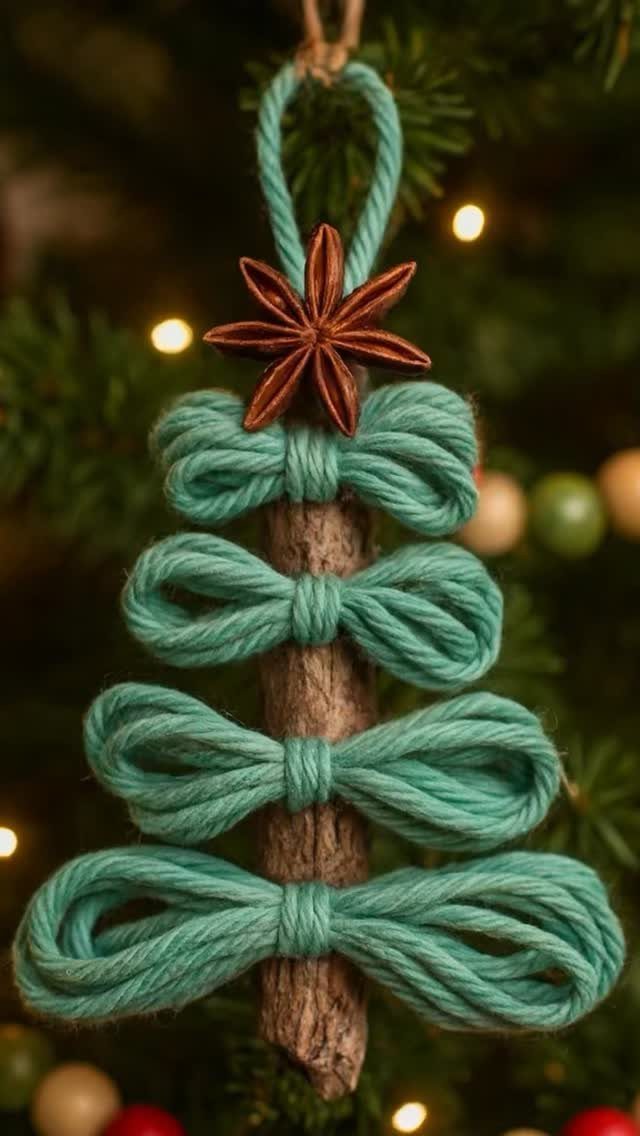
A plain twig becomes the trunk, and yarn does the rest. Wrap or tie small bows of yarn in tiers down the stick, shortest at the top, and finish with a star.
Teal looks striking, though any color works. It’s a gentle, rustic project that costs almost nothing, and a loop of yarn at the top lets it hang on the real tree.
6. Pom Pom Painted Christmas Trees
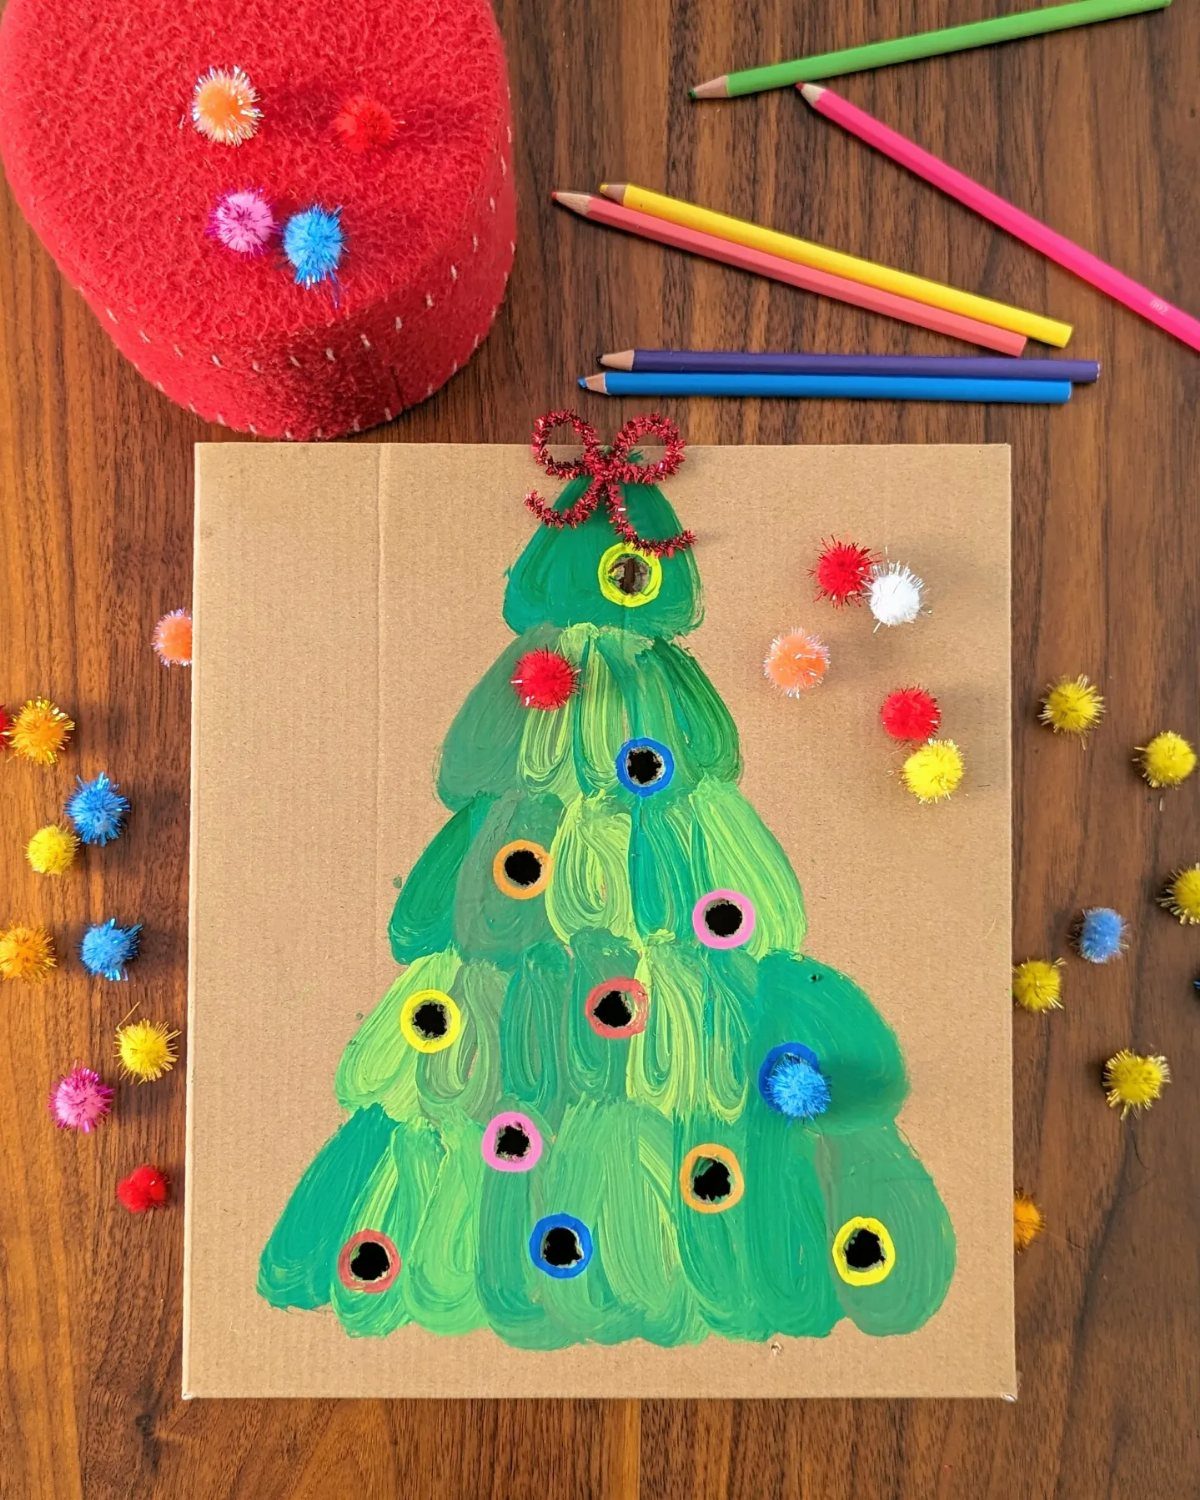
Dip a pom-pom in paint, stamp it onto cardboard, and a tree appears one dot at a time. Brown card gives a warm background that makes green paint stand out.
Clothespins make good holders if little fingers get too messy. Add a few extra colored pom-poms after the paint dries, glued on as ornaments, for a finished look.
7. Paper Christmas Tree Garland
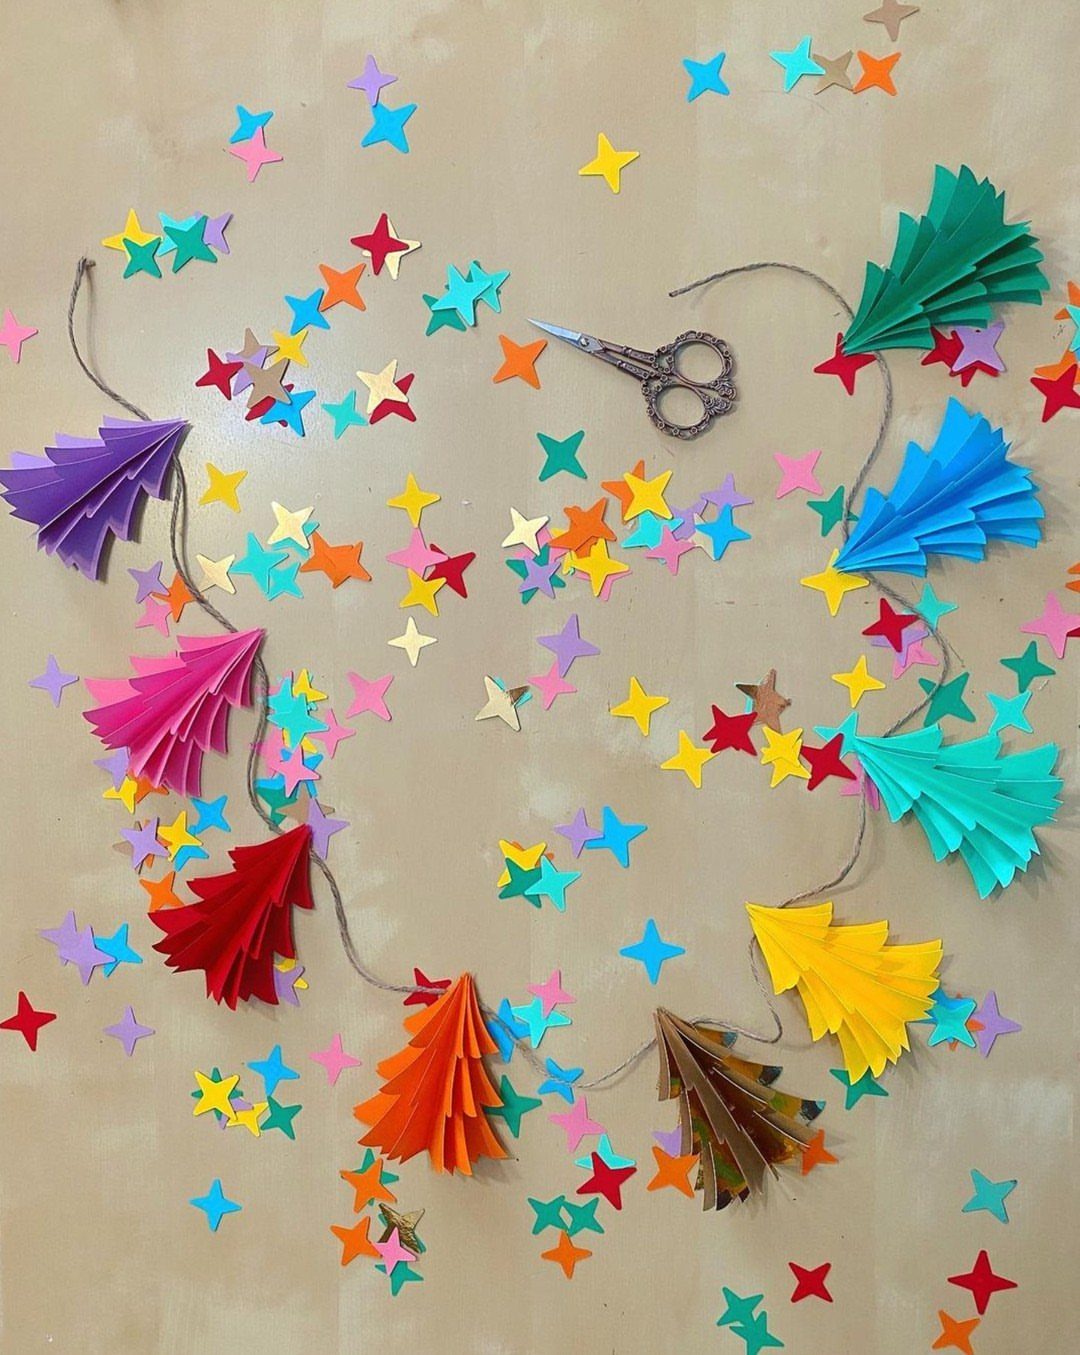
Pleated paper trees on a length of cord make a garland that costs a few sheets of paper and some twine. Fold the paper accordion-style, pinch the middle, and fan it open into a tree shape.
Scissors are the only tool older kids need for the stars.
Younger ones can fold and thread while a grown-up handles the cutting. Mixing colors keeps it cheerful across a mantel or window.
8. Pipe Cleaner Tree
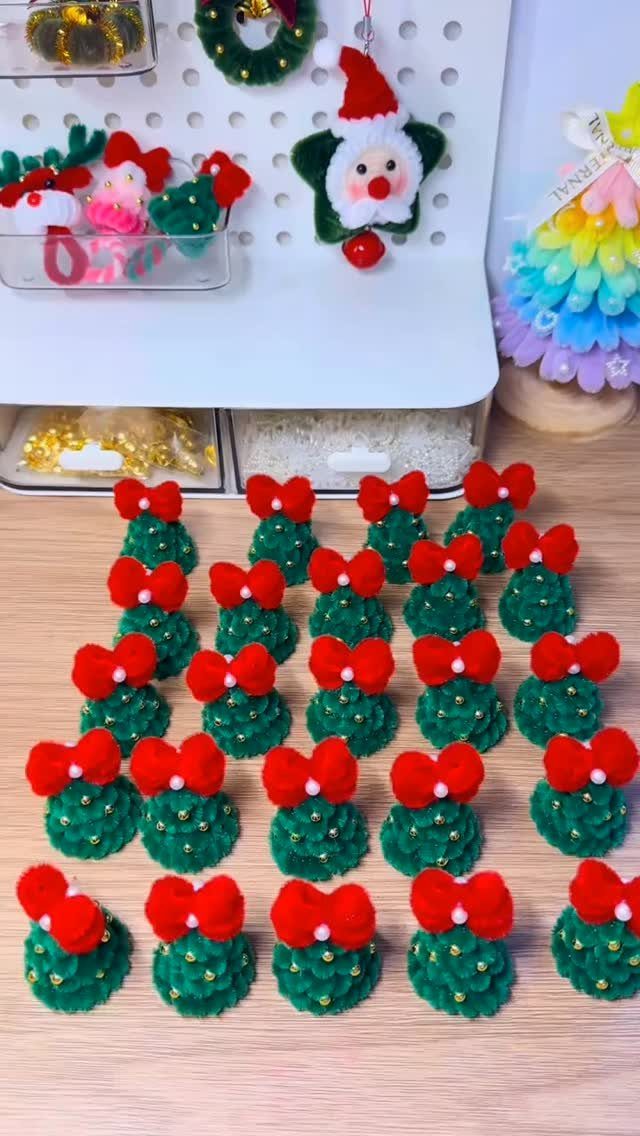
Pipe cleaners bend into a tree in a minute, which suits kids who lose interest fast.
Twist a green pipe cleaner into a zigzag or spiral, then add a red bow at the top or thread gold beads on as ornaments.
There is no glue and no drying time, so a whole row of small trees can be done in one sitting. Beads are a good fine-motor exercise for little fingers, though very young children need watching with them.
9. Pinecone Tree
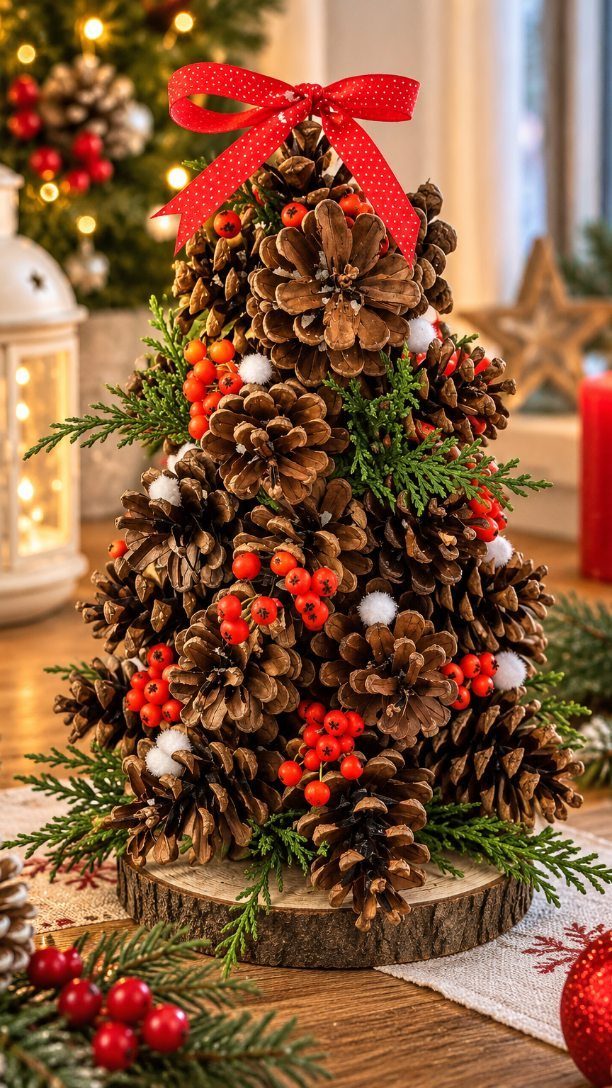
Pinecones glued in rings around a cone make a rustic tree, and a wood slice gives it a base that stands on its own.
Work from the bottom up with a hot glue gun, and keep that step for an adult or a careful older child.
Faux berries, small jingle bells or pom-poms fill the gaps.
For a snowy finish, brush on Mod Podge and sprinkle fake snow or Snow-Tex. A pinecone tree like this one uses natural pine cones, red berries and white pom-poms.
10. Playdough + Pony Bead Christmas Trees
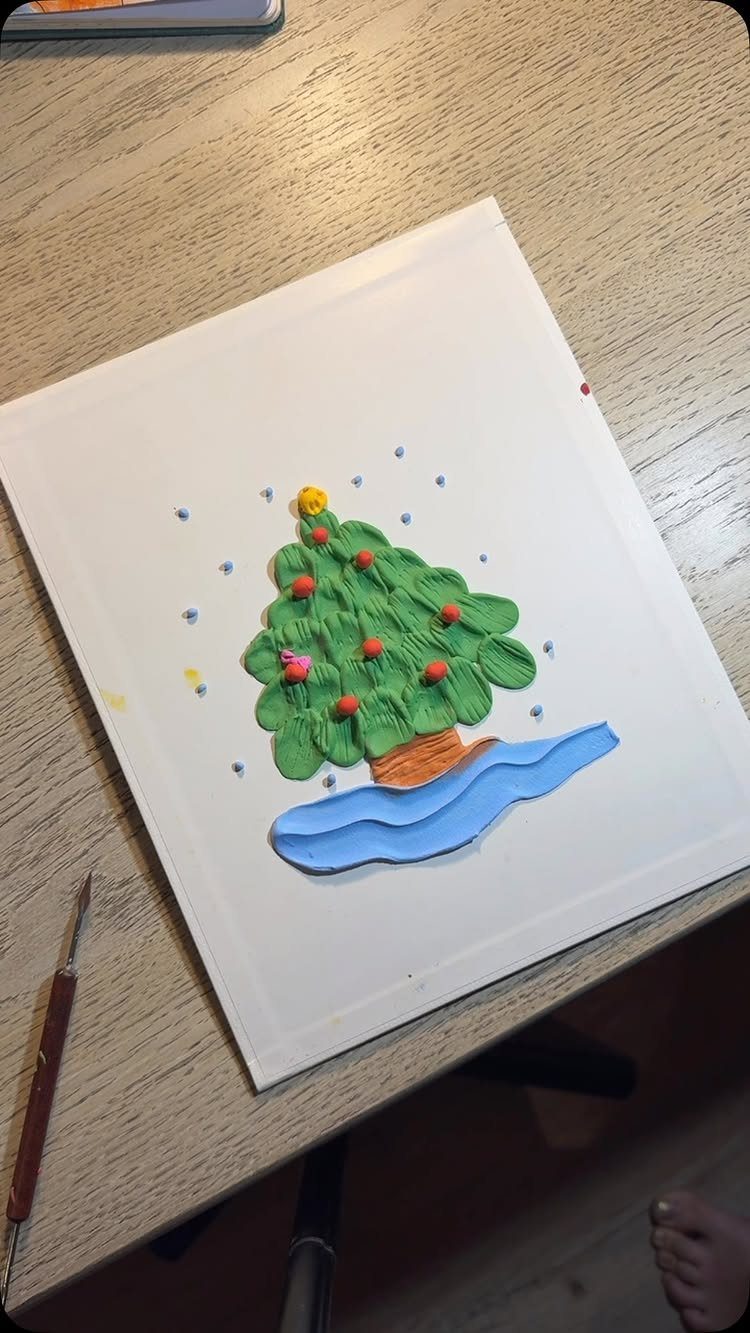
Green playdough shaped into a cone is the most forgiving tree here, because every mistake gets squished and reshaped. Pony beads pressed in become the ornaments.
I like that it needs no drying, no glue and no cleanup beyond wiping the table.
Set it on a piece of canvas or sturdy paper so the tree has a stage. Pressing beads in is good practice for small fingers.
11. Styrofoam Cones Christmas Trees
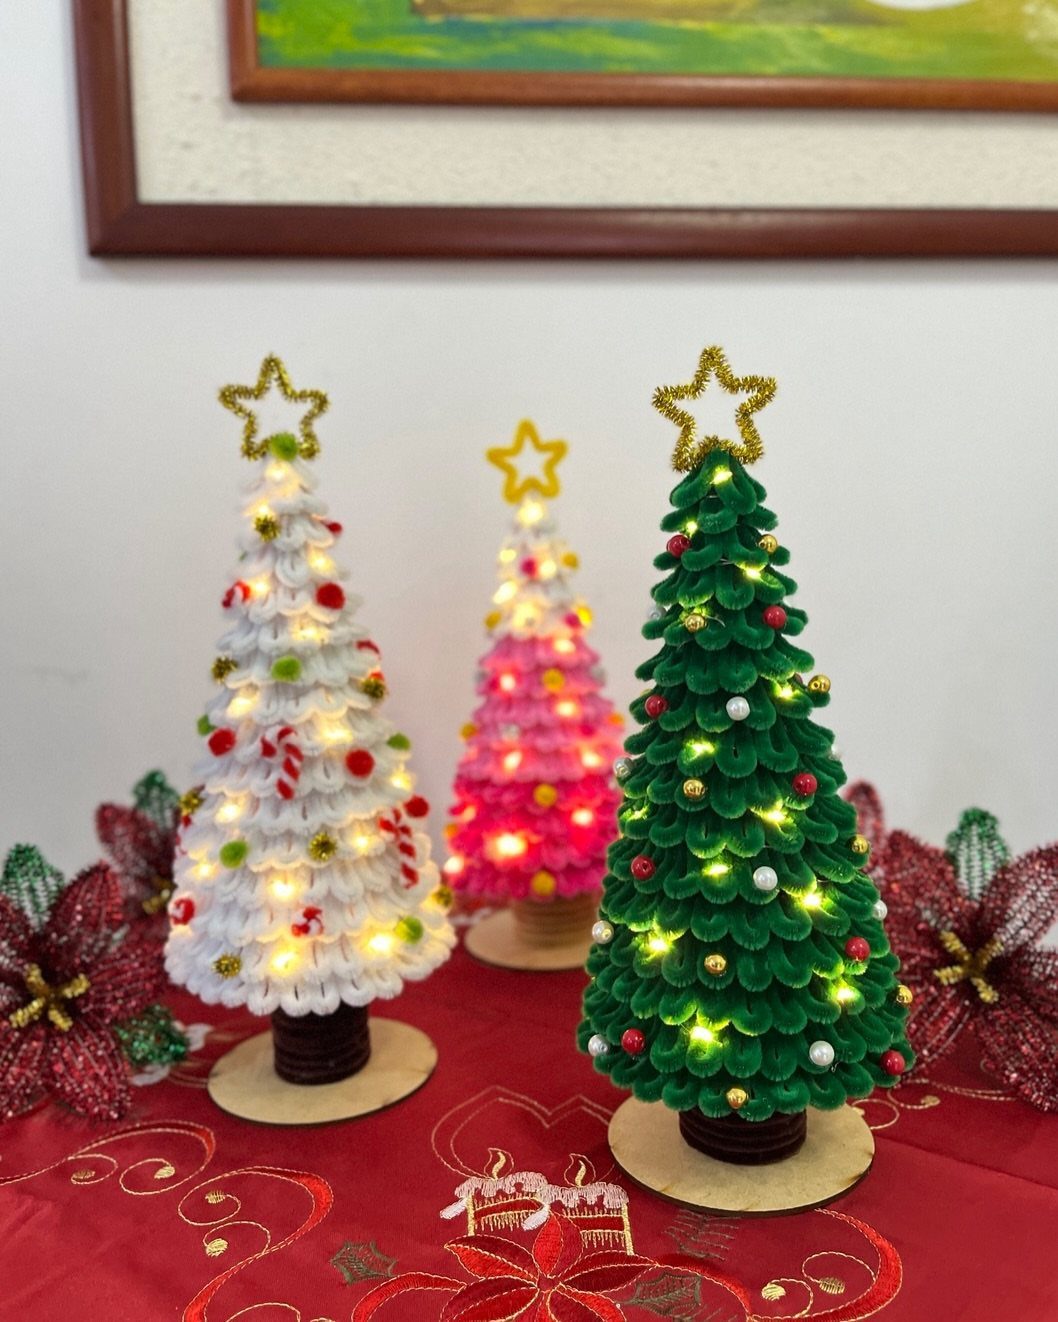
Foam cones are a ready-made tree shape, so the work is all in the covering.
Pins or a little glue hold the fabric in place.
Small lights, if you add them, turn the trees into a glowing centerpiece. Cones cost a few dollars at a craft store, so a trio is still budget-friendly.
12. Handprint Christmas Trees
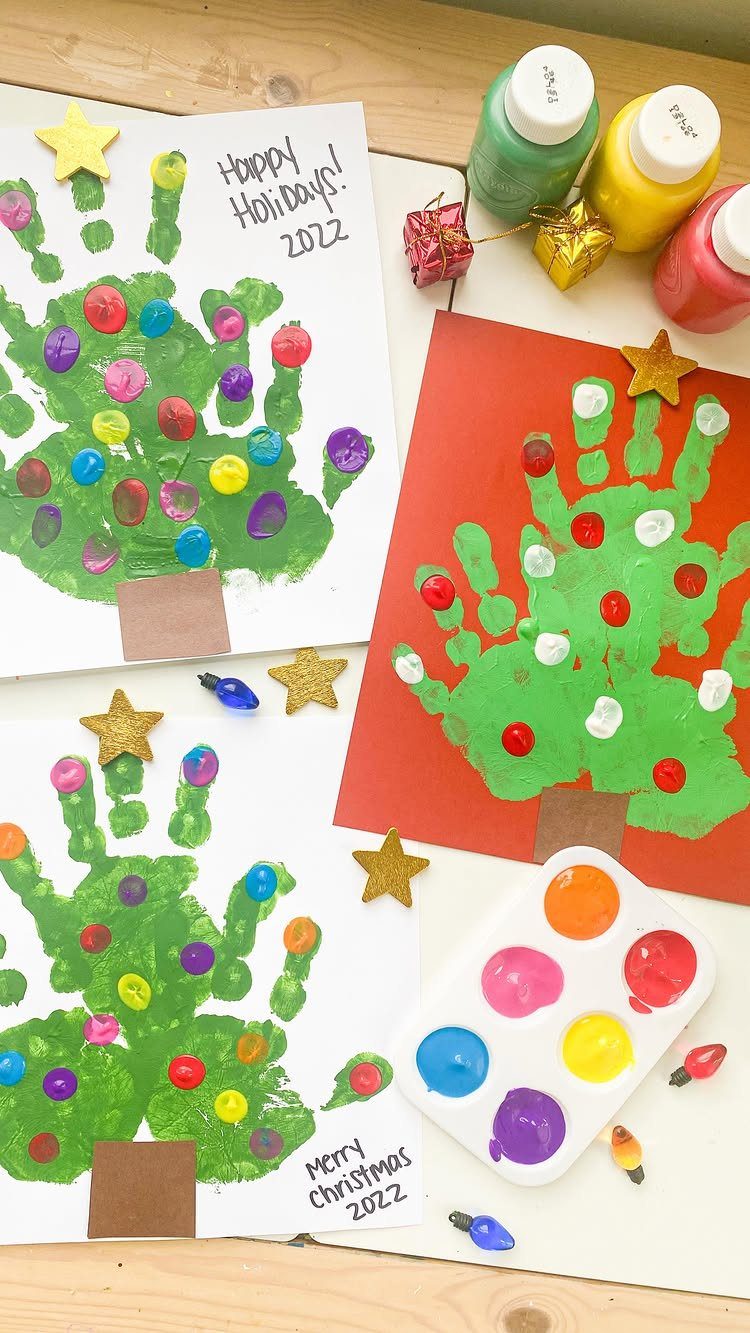
Paint a child’s hand green, press it fingers-down on paper, and the fingers become the tree’s branches.
Write the year on the page, since that date is what makes it precious a decade later.
Red paper makes the green stand out. Wipe hands between colors, and do the star last so the paint doesn’t smear.
13. Fork Painted Christmas Tree
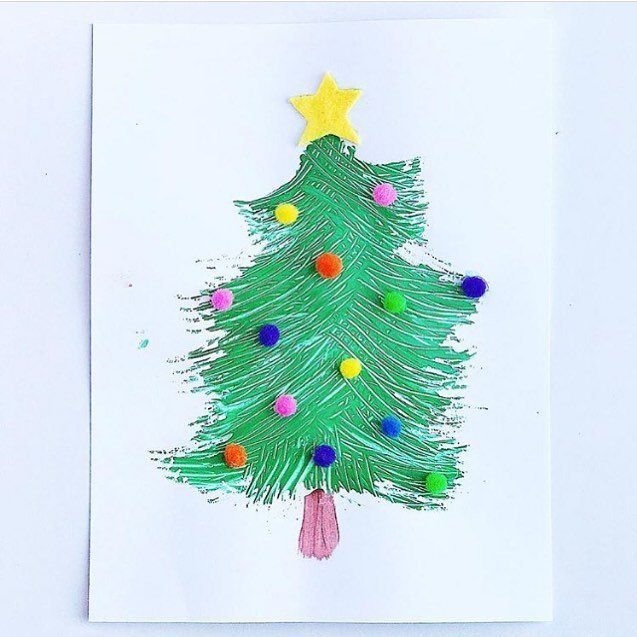
A fork makes a better branch-maker than a brush, because each press leaves a row of short, spiky lines that read as pine needles.
Dip the tines in green paint, then stroke downward on white paper in rows, widening toward the bottom.
Pom-poms glued on after the paint dries work as ornaments, and a yellow paper star finishes the top. Any fork from the kitchen drawer will do, so this one costs close to nothing.
14. Button Trees
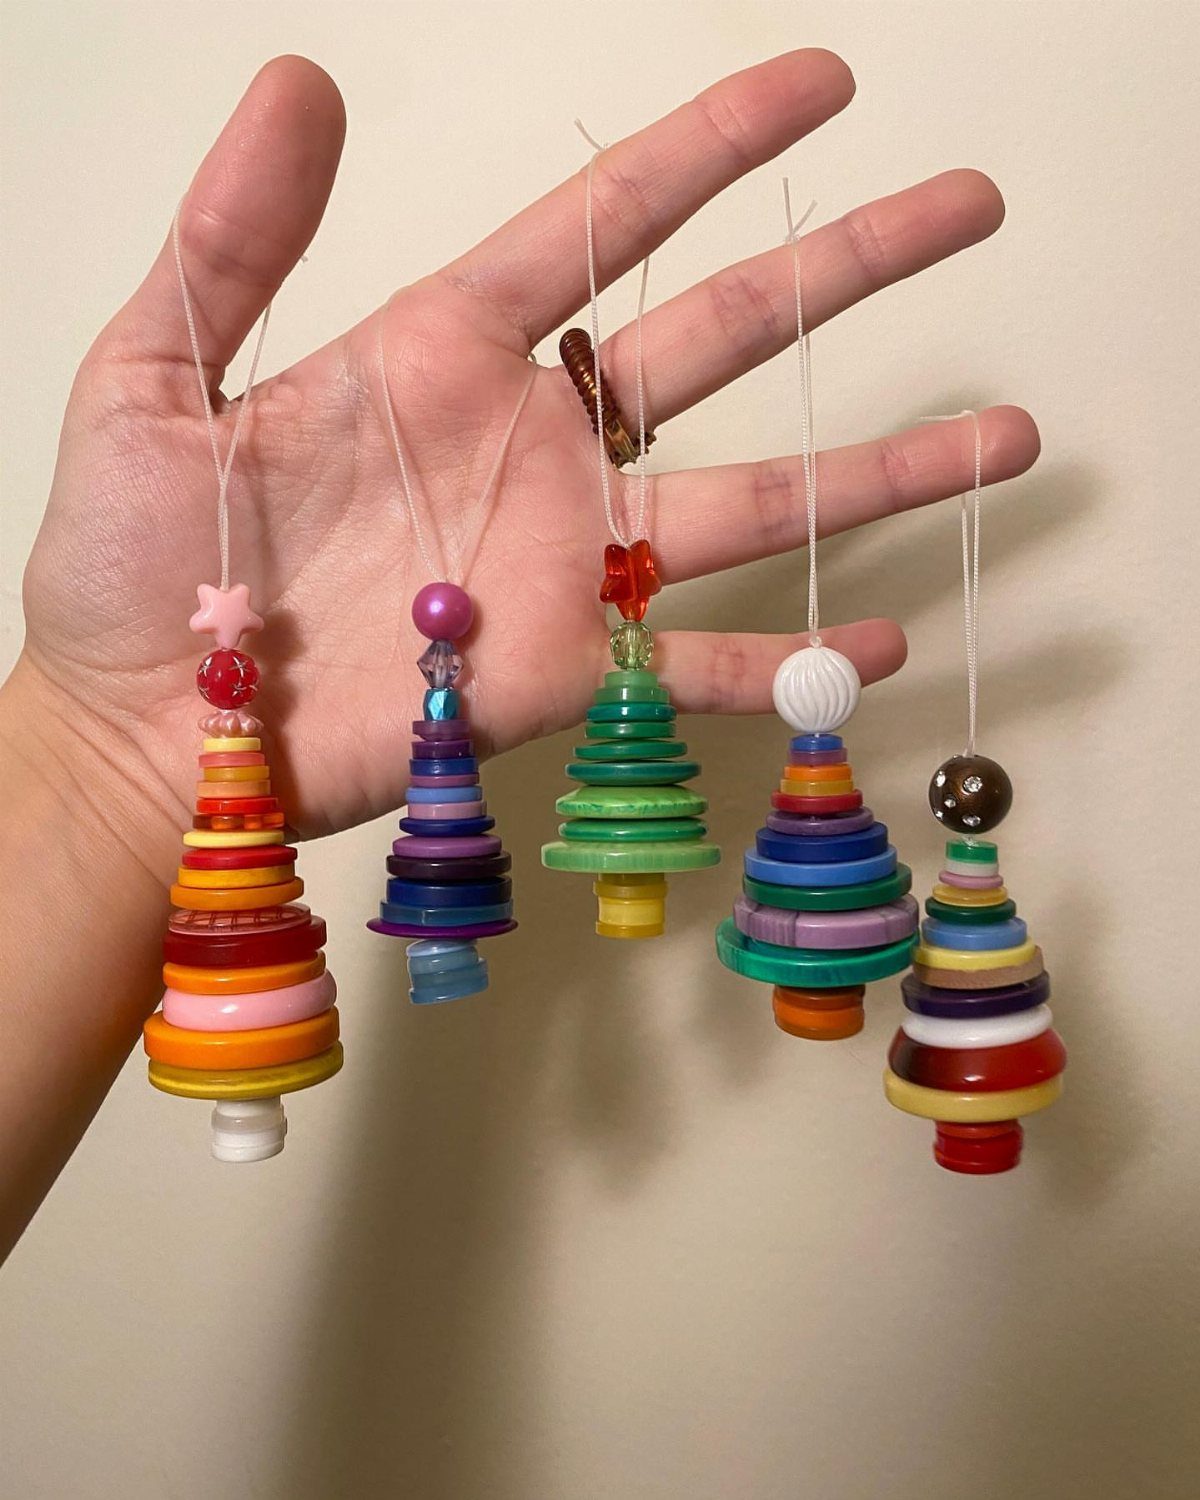
Buttons in graduated sizes, largest at the bottom, stack into a tree, and a thread through the holes holds them together. Mixed colors look cheerful, but one green batch gives a more classic tree.
Knot the thread under the bottom button and pull it through the stack, then tie a loop at the top so it can hang on the real tree.
A jar of old buttons makes this a budget project. Keep an eye on very young children, since buttons are small.
15. Christmas Tree Hat

A party hat is already a cone, so a Christmas tree hat is mostly a matter of covering it in green and dressing it up.
Paint or paper the cone green, glue on small ornaments, and tie a red ribbon bow at the front.
This is the one craft on the list a child can wear to the party afterward. I would add an elastic chin strap so it stays put during all the running around.
Benefits of Christmas Tree Crafts
Tree crafts work as a benefit package because one project can be scaled to the child. A preschooler can press stickers onto a paper tree, while an older child cuts, layers, and plans where each ornament goes.
Fine motor practice happens without anyone calling it practice: gripping a brush, pinching a sequin, squeezing a glue bottle. Creativity gets room when you set out the materials and let the child decide what the tree looks like.
Finished trees also double as decorations. Kids who see their work on a shelf or a classroom wall tend to want to make another, and that is the easiest way to keep the habit going.
Materials for Crafts
Start with a basic kit: paper in green and a few other colors, white glue, scissors, paint, and yarn. That set covers most tree projects.
Then check the recycling bin. Egg cartons and old magazines are free, and magazine pages cut into strips or triangles give you patterned "needles" with no paint at all.
Buy only what a project needs. A craft supply closet you already have is the cheapest store in town, so raid it before you shop.
Crafting with Kids
Hand over the materials and step back. Kids often have better ideas than the instructions do, so let them choose colors, swap in what is on the table, and decide where things go.
If a child wants to change the plan, swap the material. Paper plate or cardboard can stand in for cardstock, pom-poms or sequins for stickers, and yarn or ribbon for a drawn garland.
Once the tree is finished, have the kids count the ornaments they added; older ones can guess the total first and then check it.
Older kids can guess first, then count to check, which slips a little math into the afternoon.
Keep sessions short and the setup simple. A quick project finished beats an ambitious one abandoned.
Frequently Asked Questions
What can you make out of old Christmas trees?
Old trees give you 2 good options: a wreath from the bough tips, or small decorations like ornaments and coasters cut from the trunk.
A real tree’s branches can be shaped into a wreath, and cut pieces work as rustic decor. Pinecones glued in overlapping rings around a foam cone make a rustic tabletop tree with no cut branches involved.
What are some DIY Christmas tree crafts I can make?
Paper, yarn and recycled-material trees are the easiest places to start. Egg carton cups painted green and stacked in rows make a tabletop tree from recycling.
Yarn wrapped around a cardboard cone gives a woolly tree, and pleated paper trees strung on cord make a garland. A pipe cleaner twisted into a zigzag takes about a minute.